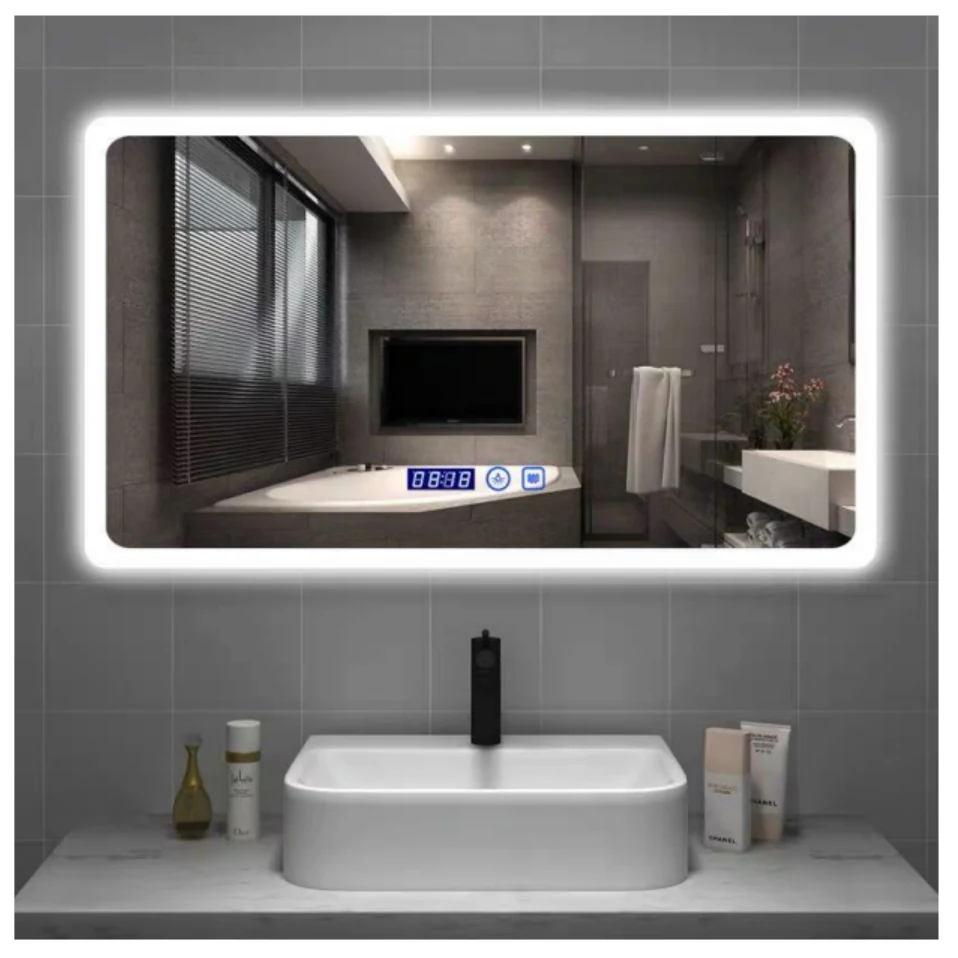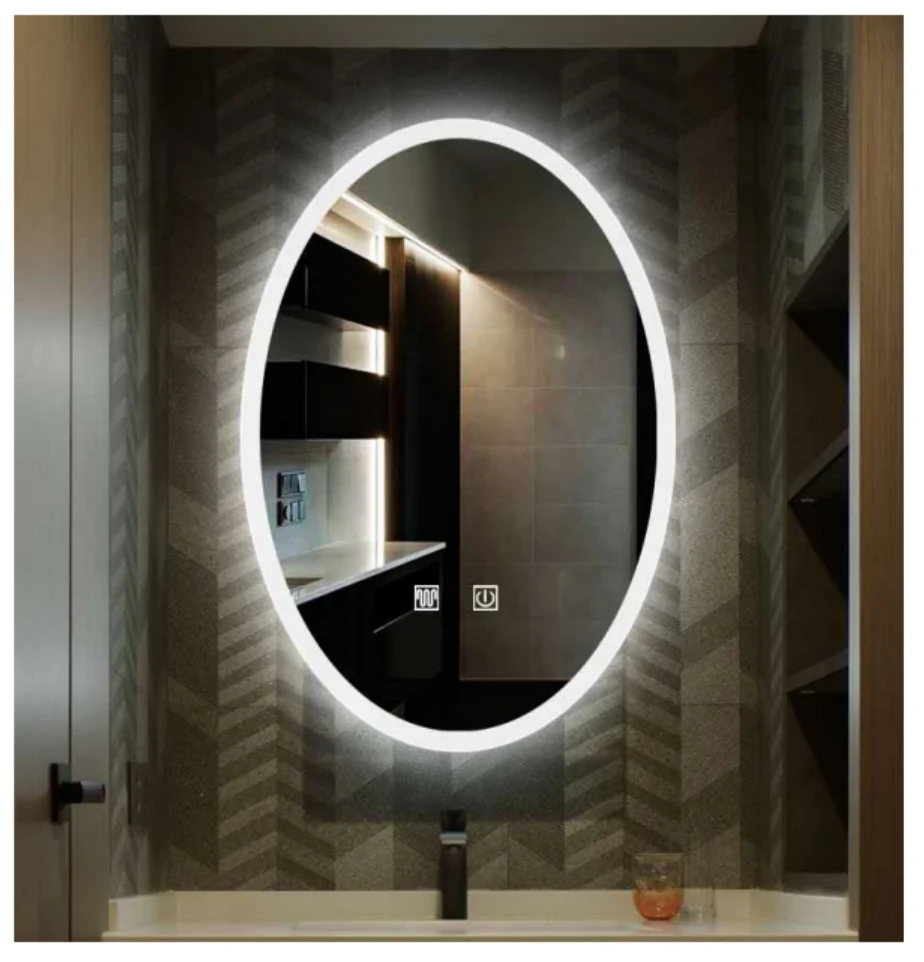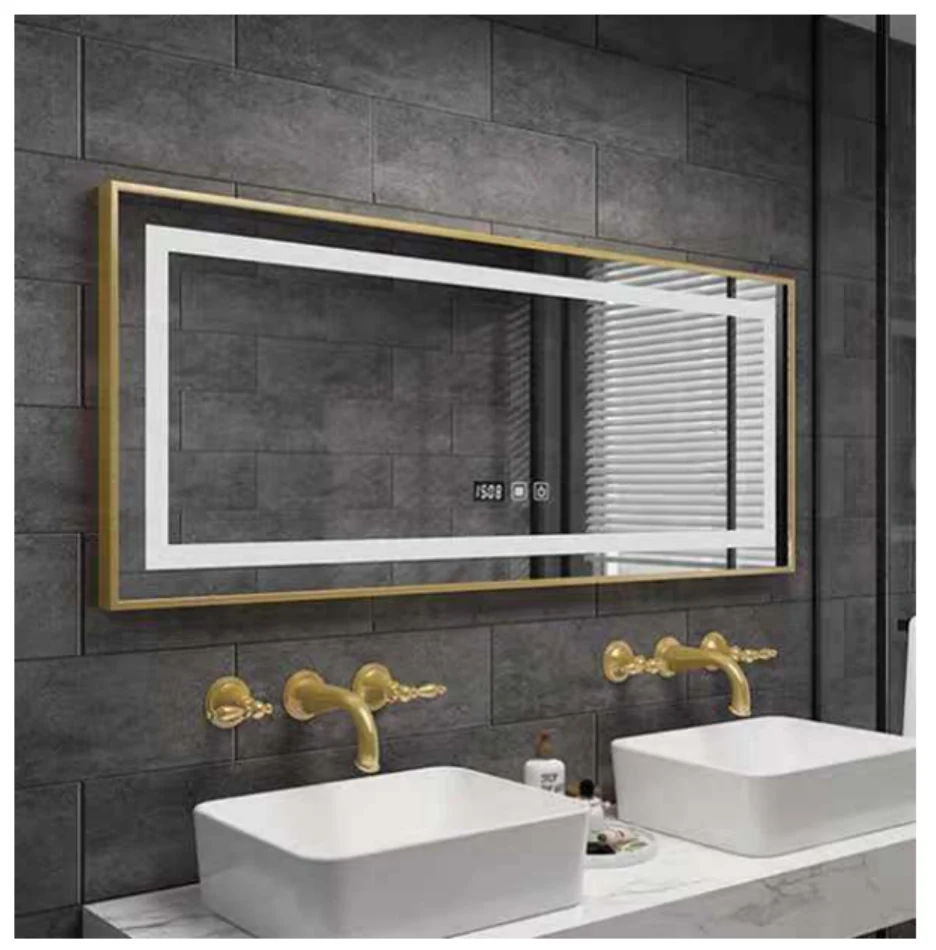

Begin with the Application and Room Type
A useful specification starts with where the mirror will be used. State whether it is for a hotel guest room, apartment bathroom, retail showroom, cabinet program or renovation project. Add the room-type code and quantity where relevant. This context helps the supplier understand whether repeatability, visual distinction, compact dimensions or maintenance access is the main concern.
Avoid opening with a long list of features copied from unrelated listings. First define the physical and operational need, then select only the options that the project has actually approved.
Describe Geometry with a Drawing
Record overall width, height and intended orientation, plus any frame or visible edge requirement. A dimensioned elevation should locate the mirror relative to the finished floor, vanity centerline and nearby fixtures. The back view should show mounting points, cable exit and component zones that must remain clear.
State which dimensions are critical and what tolerance will be used for approval. If a size is still provisional, mark it clearly. Calling every dimension “custom” without a controlled drawing creates more uncertainty, not more flexibility.
Coordinate Electrical and Control Requirements
Identify the destination market and project electrical context, then ask the supplier to confirm the proposed configuration and documentation. Specify the agreed control method and how the mirror coordinates with room switching. Any optional function should be listed as required, optional or excluded so that quotation comparisons remain fair.
The specification should require current installation information and a product back view for contractor coordination. It should not tell an installer to ignore local rules; installation and verification must be completed by appropriately qualified parties for the destination.
Define the Approval Evidence
List what must be submitted before production: product drawing, finish or frame sample if relevant, lighting or control confirmation, packaging proposal and one physical sample when the project warrants it. Name the decision maker and explain how comments will be closed. Otherwise, multiple teams may issue conflicting approvals by email.
A sample approval should connect to a dated specification revision. If the size, control or finish changes after the sample, record the change and decide whether further evidence is needed.
Include Delivery and Identification
State the required carton identification, room or model references, accessory packing and any pallet or warehouse limits. For projects with several room types, the receiving team should be able to identify the correct mirror without opening every carton. Also request a practical method for linking a unit to its order if after-sales support is needed.
Use the product catalog to attach real model references to the specification. Then send the drawing, quantity schedule, destination and open questions through the contact page. A shorter document with controlled decisions is more valuable than a long specification assembled from generic clauses.